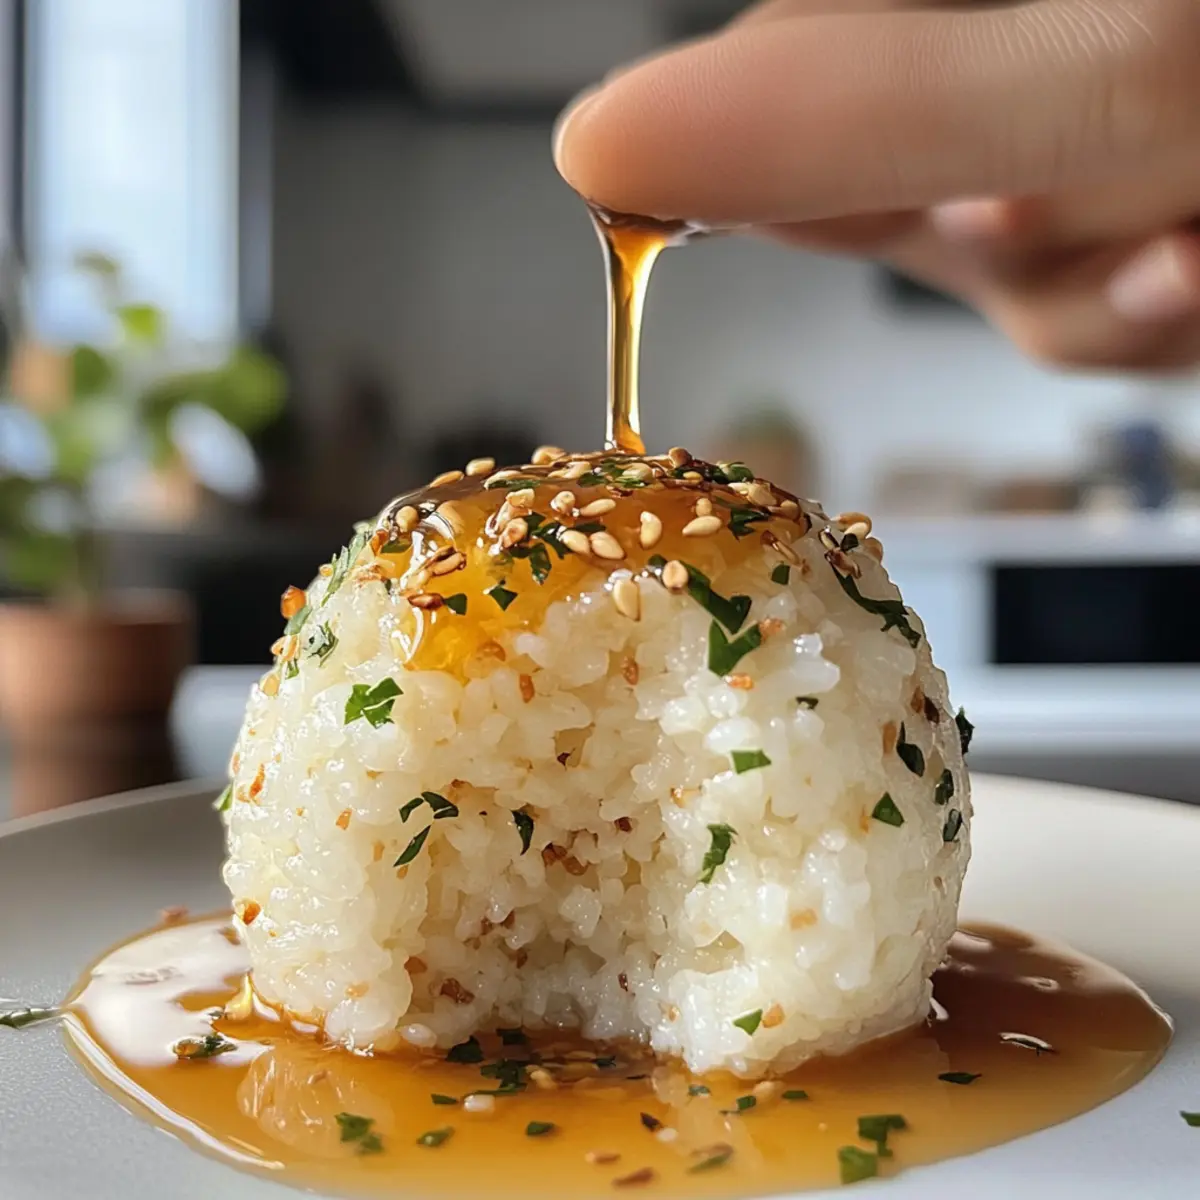
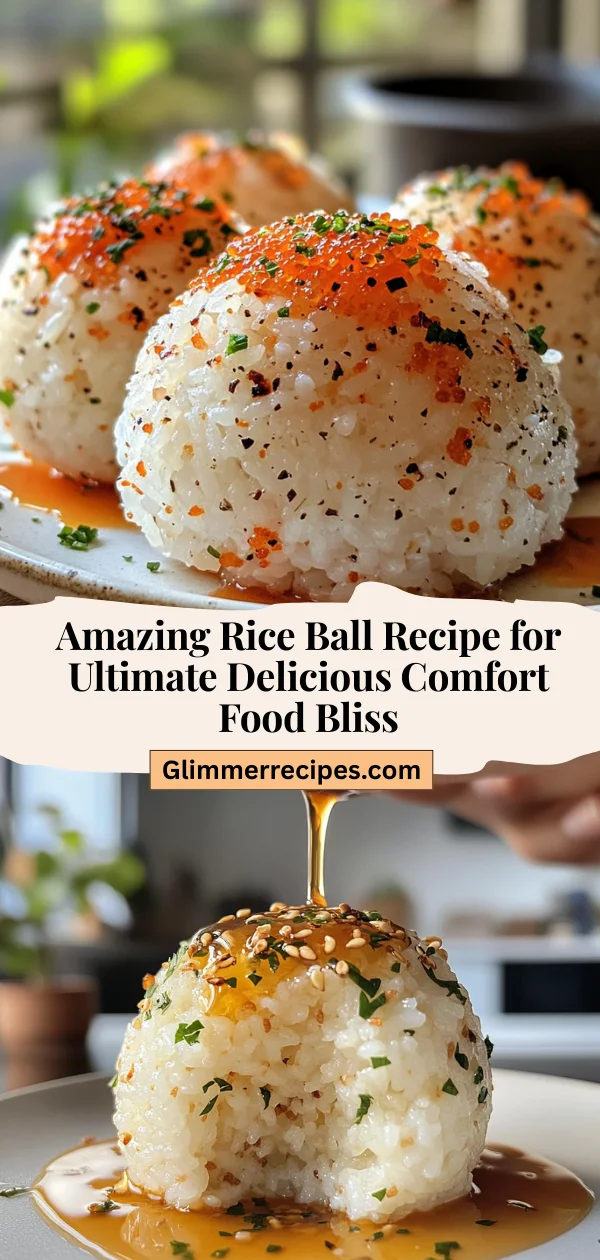
When the sun shines down on a lazy weekend afternoon, there’s something truly delightful about rolling up your sleeves and whipping up a batch of rice balls, or Onigiri. The moment I take that first fragrant scoop of warm, fluffy short-grain rice, I’m transported to bustling Japanese markets, where each bite offers a warm hug of comfort. These delightful little snacks aren’t just satisfying; they’re a canvas for your creativity! With customizable fillings ranging from savory grilled salmon to vibrant sautéed veggies, each rice ball presents a chance to reflect your taste and mood.
Whether you’re planning a picnic in the park, need a fun lunch idea, or are looking to impress your friends at your next gathering, these amazing rice balls are the ultimate delicious comfort food bliss. Plus, they’re easy to make and can easily cater to various dietary preferences, making them a versatile choice for everyone at the table. Ready to bring some joy to your kitchen with this fantastic recipe? Let’s dive in!
Why is this Amazing Rice Ball Recipe so special?
Simplicity: This recipe is straightforward, calling for minimal ingredients yet delivering maximum flavor.
Customization: With endless filling possibilities, you can create a rice ball for every craving—from tangy pickled plum to savory grilled salmon or even vibrant sautéed veggies.
Versatile Snack: Perfect for picnics, lunches, or as a delightful party appetizer, these rice balls are bound to be a hit with family and friends.
Quick to Make: Enjoy a comforting meal in under 30 minutes, making it ideal for busy weeknights or last-minute gatherings.
Diet-Friendly Options: Easily adaptable for vegetarians or those seeking gluten-free meals, this recipe ensures everyone can enjoy its deliciousness.
For more inspiration, check out my Cheesy Arancini that feature delightful flavors and are equally versatile!
Amazing Rice Ball Recipe Ingredients
• Get ready to fill your kitchen with deliciousness!
For the Rice
• Short-Grain Rice – This is the star of our recipe, providing that fluffy texture we all love.
• Water – Essential for cooking; ensure a 1:1.25 rice-to-water ratio for perfect rice.
• Salt – Enhances flavor; feel free to adjust based on your preference.
For the Fillings
• Vegetable Fillings (e.g., peas, bell peppers) – Add a burst of color and nutrients; choose your favorites!
• Pickled Plum – A traditional savory-sweet option that adds a uniquely tangy flavor.
• Grilled Salmon – A delicious protein that brings a savory depth to your rice balls.
For Assembly
• Nori Sheets – These crispy seaweed wraps add texture and a touch of umami. Optional but highly recommended!
Let’s get ready to make your Amazing Rice Ball Recipe for Ultimate Delicious Comfort Food Bliss!
How to Make Amazing Rice Balls
-
Rinse Rice: Begin by rinsing 2 cups of short-grain rice under cold water until the water runs clear to remove excess starch, ensuring a fluffy texture.
-
Cook Rice: In a pot, combine the rinsed rice with 2.5 cups of water. Bring the mixture to a boil, cover, and then lower the heat to simmer for 20 minutes until tender and water is absorbed.
-
Let it Rest: Remove the pot from heat and let the rice sit, covered, for 10 minutes. This allows the rice to finish cooking and become perfectly fluffy.
-
Season Rice: Fluff the warm rice gently with a fork, then sprinkle in salt to taste. Mix well while the rice is still warm to help the flavor meld.
-
Mix in Fillings: Fold in your choice of chopped vegetable fillings or other optional ingredients, such as pickled plum or grilled salmon, ensuring even distribution throughout the rice.
-
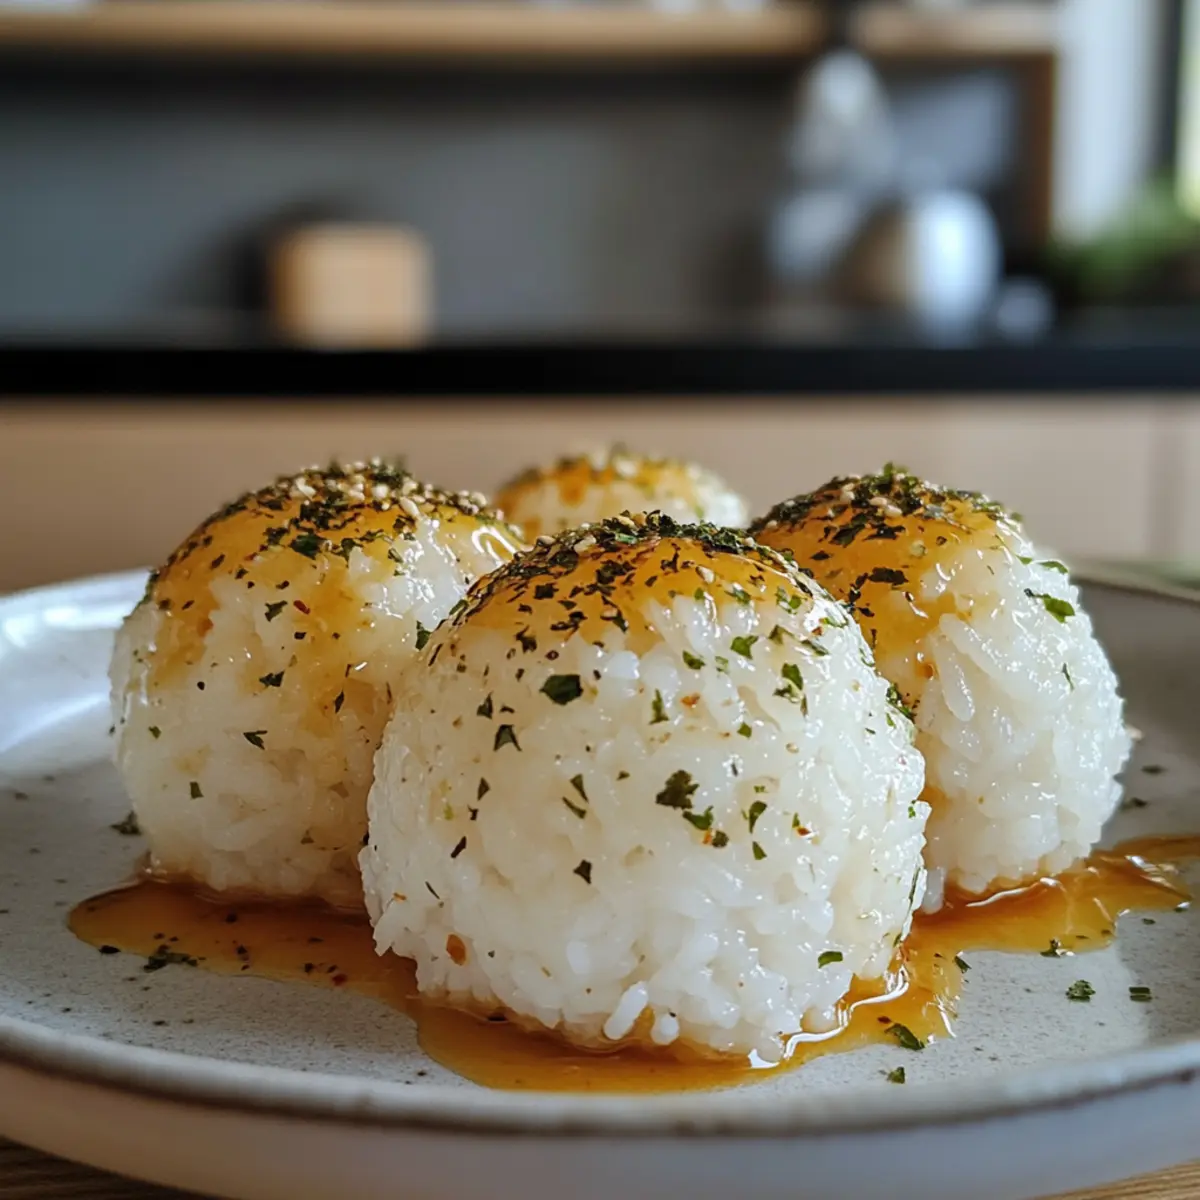
Form Rice Balls: Moisten your hands lightly to prevent sticking. Scoop about 2 tablespoons of the rice mixture and shape it into a compact ball, ensuring it holds together well.
-
Wrap (optional): If desired, take nori sheets and cut them into strips. Wrap each rice ball in a strip for added texture and flavor.
-
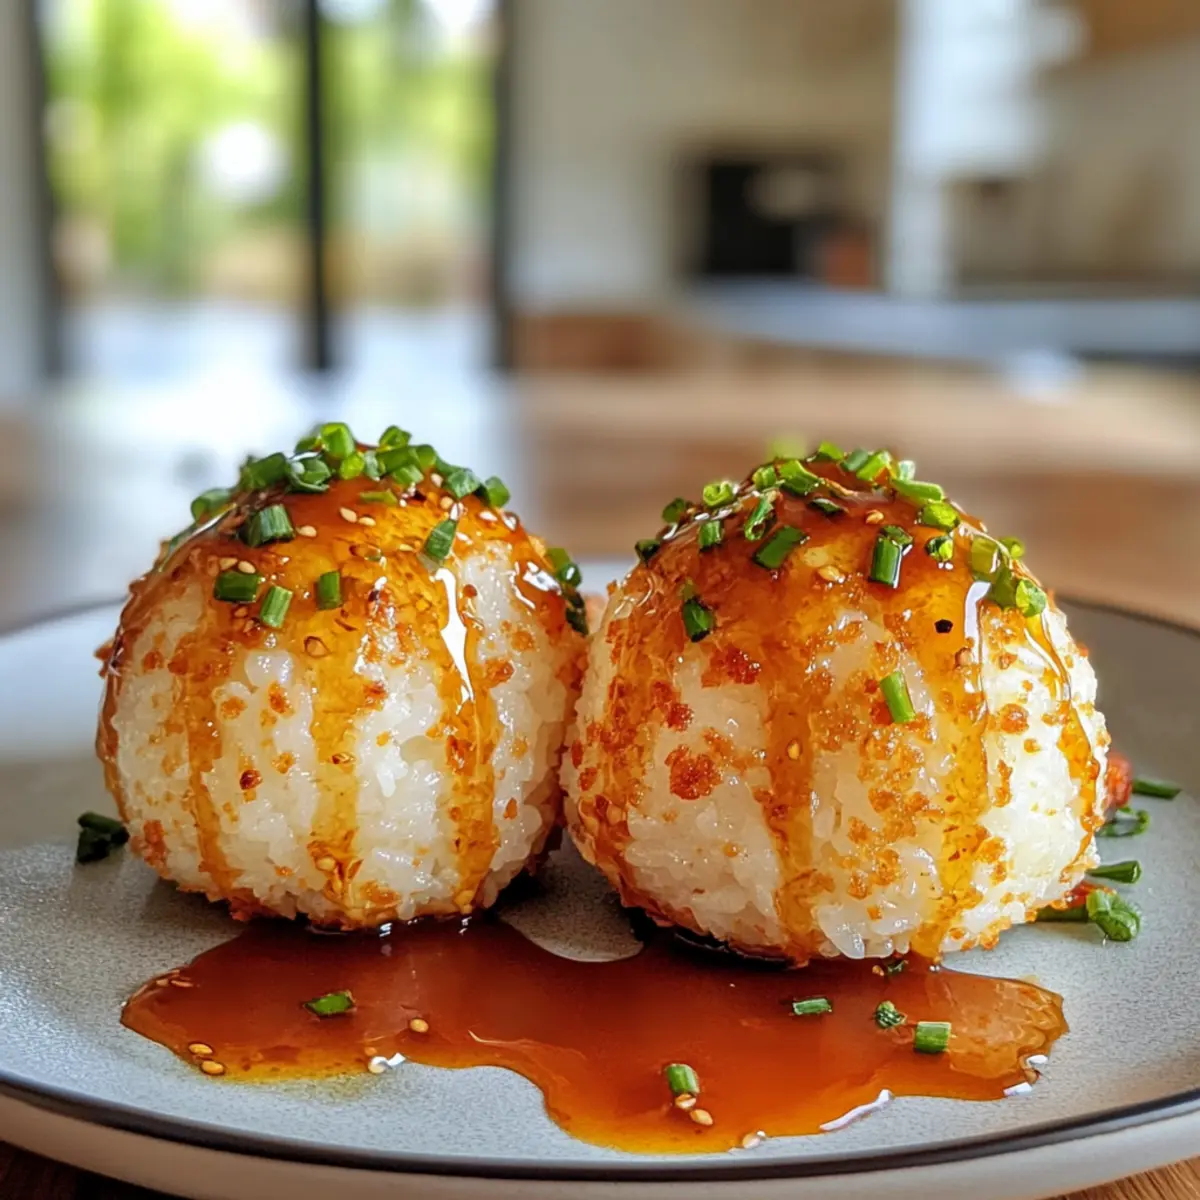
Serve: Arrange the rice balls on a plate and offer with soy sauce or your preferred dipping sauce for a delightful flavor boost.
Optional: Serve with sliced avocado or a sprinkle of sesame seeds for an extra touch.
Exact quantities are listed in the recipe card below.
What to Serve with Amazing Rice Balls?
Elevate your meal experience with delightful sides that complement the comforting taste of rice balls.
-
Miso Soup: A warm, savory broth filled with umami that perfectly balances the flavors of your rice balls.
-
Edamame: Lightly salted and steamed, these tender soybeans add a pop of color and a nutritious crunch, making them a fantastic finger food pairing.
-
Japanese Pickles: A refreshing mix of tangy and sweet vegetables that cuts through the richness of the rice balls, enhancing each bite.
-
Seaweed Salad: Light and crisp, this salad brings a lovely oceanic flavor and texture contrast that harmonizes beautifully with rice balls.
-
Sushi Rolls: For a themed meal, serve with an assortment of sushi rolls. Their colorful fillings and textures make for a delightful, cohesive dining experience.
-
Asian-style Slaw: A veggie-packed slaw with a light sesame dressing adds brightness and crunch, perfectly balancing the dish.
-
Soya Sauce or Spicy Mayo: Don’t forget a dipping sauce! These add an extra layer of flavor, enriching the overall dining experience.
-
Green Tea: Serve alongside freshly brewed green tea—it cleanses the palate and pairs wonderfully with the flavors of your rice balls.
Each of these pairings enhance the joy and satisfaction that comes with enjoying your Amazing Rice Ball Recipe for Ultimate Delicious Comfort Food Bliss.
Expert Tips for Amazing Rice Balls
-
Perfect Rice Texture: Use short-grain rice for a sticky, fluffy texture that holds together well, essential for an amazing rice ball recipe.
-
Avoid Sticking: Lightly moisten your hands with water before shaping the rice balls to prevent the rice from sticking to your fingers.
-
Even Fillings: Ensure that your fillings are evenly mixed into the rice for consistent flavor in every bite; experiment with different combinations for excitement!
-
Freshness Matters: These rice balls are best enjoyed fresh. If you need to store leftovers, keep them in an airtight container in the fridge for up to three days.
-
Wrap Wisely: If using nori sheets, wrap the rice balls just before serving to maintain their crispness and enhance presentation.
-
Serving Variations: Serve with soy sauce, spicy mayo, or your favorite dipping sauce to elevate the taste of your amazing rice ball recipe!
Amazing Rice Ball Variations
Feel free to let your creativity shine as you tailor these rice balls to match your taste and preferences!
-
Vegan Delight: Substitute any meat filling with sautéed mushrooms, zucchini, or tofu for a hearty plant-based option.
This fresh twist not only boosts nourishment but also delivers a delightful umami punch. -
Spicy Fusion: Add chopped jalapeños or a drizzle of sriracha to the rice mixture for an exciting heat that awakens the senses.
Perfect for those of us who like our snacks with a kick! -
Cheesy Goodness: Incorporate shredded cheese, like cheddar or mozzarella, into the rice before shaping for a melty surprise.
Think of a comforting cheesy embrace within each fluffy bite—simply irresistible! -
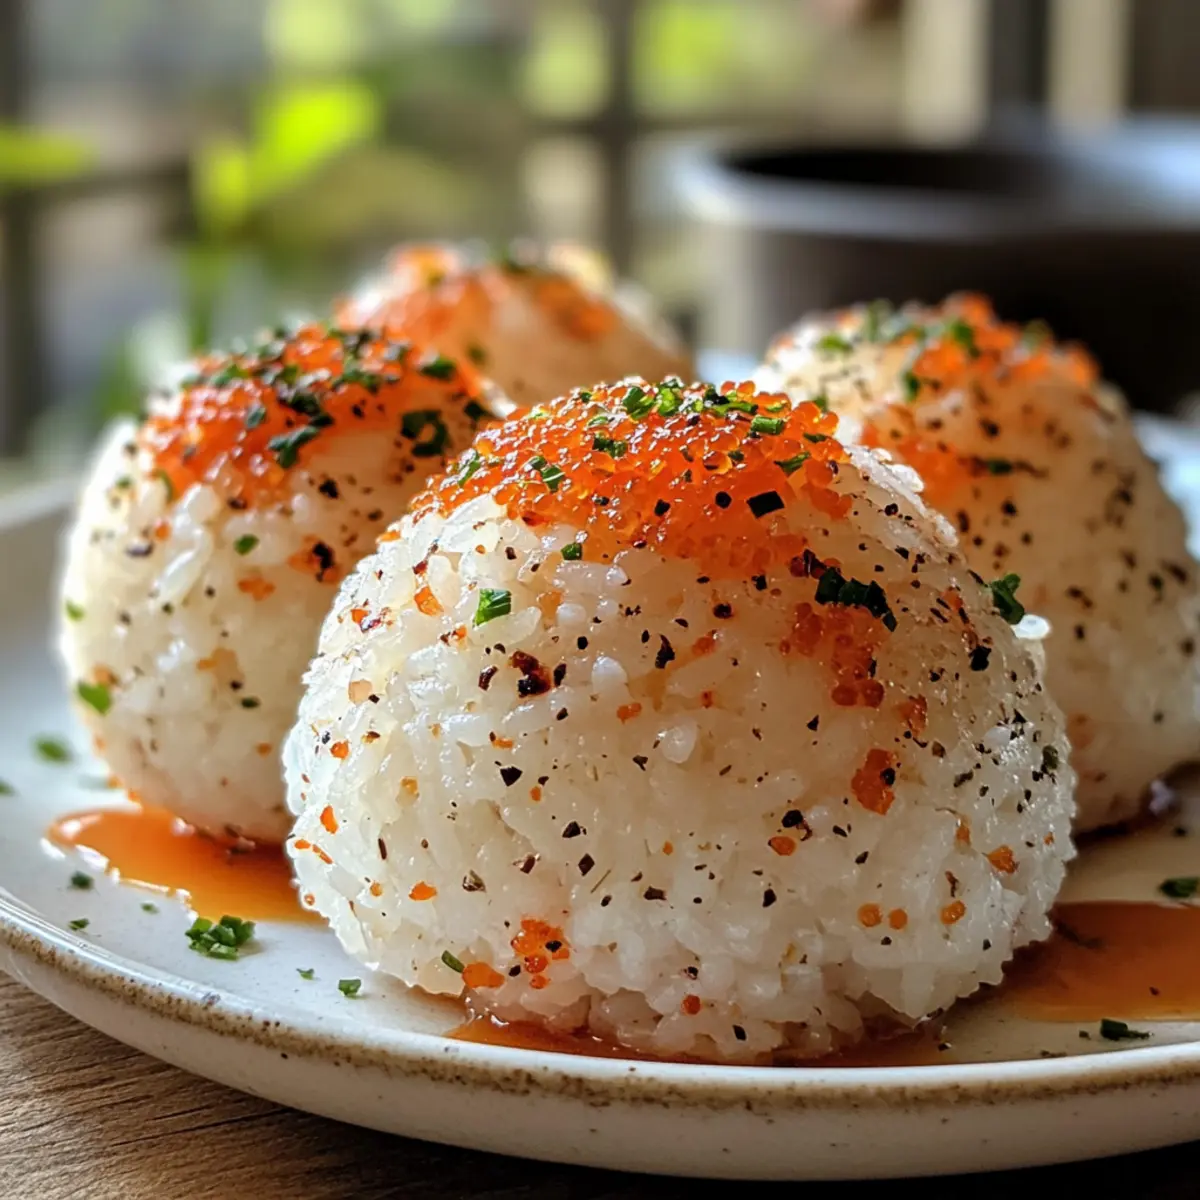
Crispy Crunch: Top your rice balls with a sprinkle of toasted sesame seeds or crushed nuts for added texture.
This contrasting crunch makes each bite an adventure, delighting your senses with every taste. -
Herb Infusion: Mix fresh herbs such as cilantro, basil, or chives into the rice for an aromatic twist.
Herbs can brighten the flavor and bring a garden-fresh quality to your beloved rice balls. -
Sushi-Inspired: Use avocado, crab, and cucumber as filling options for a sushi-flavored twist on your rice balls.
These delicious bites are reminiscent of sushi rolls, offering a fun and familiar taste profile. -
Sweet Treats: Swap savory fillings for sweet options, like mashed sweet potatoes or coconut flakes, for a unique dessert version.
These sweet rice balls can satisfy your cravings while providing a lovely surprise for the palate. -
Seasonal Variations: Experiment with seasonal produce by adding roasted butternut squash or asparagus mixed with fresh herbs for a delightful take.
Embrace the flavors of the season, enhancing each bite with the best nature has to offer!
How to Store and Freeze Amazing Rice Balls
Fridge: Store rice balls in an airtight container for up to 3 days. Keep them separate if possible, as moisture can make them soggy.
Freezer: For longer storage, freeze rice balls tightly wrapped in plastic wrap, then place them in a freezer bag. They can last up to 2 months, retaining flavor.
Reheating: To restore texture, reheat frozen rice balls in the microwave for 30 seconds to 1 minute or enjoy them cold. The amazing rice ball recipe is great even when made ahead!
Serving Suggestions: Best enjoyed fresh, but they can also be served cold in lunchboxes or on picnics for a delightful snack.
Make Ahead Options
These amazing rice balls, or Onigiri, are perfect for meal prep and can save you valuable time during busy weeknights! You can prepare the rice and mix in your desired fillings up to 24 hours in advance; just store them in an airtight container in the refrigerator to maintain freshness. When you’re ready to serve, simply shape the rice mixture into balls and wrap them in nori right before enjoying for optimal texture. If you’re making them for a picnic, consider preparing the rice balls the night before, allowing the flavors to meld overnight, ensuring they’re just as delicious when you’re ready to bite into that comforting bliss!
Amazing Rice Ball Recipe Recipe FAQs
What type of rice should I use for rice balls?
Absolutely! For the best texture, use short-grain rice, which is stickier and will hold the rice balls together nicely. Korean or Japanese short-grain rice varieties work beautifully for making amazing rice balls.
How can I tell if my rice is cooked properly?
Very! After simmering for 20 minutes, the rice should be tender and the water mostly absorbed. If unsure, taste a bit—perfect rice will feel fluffy, not mushy, and have a slight chew.
Can I store leftover rice balls, and if so, how?
Yes! Store your rice balls in an airtight container in the fridge for up to three days. To avoid sogginess, keep them separate if possible. If you’d like to keep them longer, I’ve found that storing them tightly wrapped in plastic wrap and placed in a freezer bag allows you to freeze them for up to two months.
How do you freeze rice balls?
For freezing, take your already formed rice balls, wrap each one tightly in plastic wrap, and then place them in a labeled freezer bag. Make sure to remove as much air as possible to prevent freezer burn. To enjoy later, just thaw in the fridge overnight or microwave for 30 seconds to 1 minute for delicious convenience!
What are some delicious filling variations for rice balls?
The more the merrier! Feel free to fill your rice balls with things like spicy tuna, creamy avocado, sautéed mushrooms, or even teriyaki chicken. It’s super fun to mix and match based on your cravings and dietary preferences.
Can pets eat rice balls?
It’s best to keep rice balls away from pets, especially if they contain ingredients like nori or certain fillings that could be harmful to them. However, plain rice is generally safe, but always check with your vet for specific dietary advice about any unusual ingredients!
Amazing Rice Ball Recipe for Ultimate Comfort Food Bliss
Ingredients
Equipment
Method
- Rinse 2 cups of short-grain rice under cold water until the water runs clear.
- In a pot, combine the rinsed rice with 2.5 cups of water. Bring to a boil, cover, and simmer for 20 minutes.
- Remove the pot from heat and let the rice sit, covered, for 10 minutes.
- Fluff the warm rice gently with a fork, then sprinkle in salt to taste.
- Fold in your choice of chopped vegetable fillings or optional ingredients.
- Moisten your hands lightly to prevent sticking. Shape about 2 tablespoons of rice into a ball.
- If desired, wrap each rice ball in a strip of nori.
- Arrange the rice balls on a plate and serve with soy sauce.
Notes
Leave a Comment